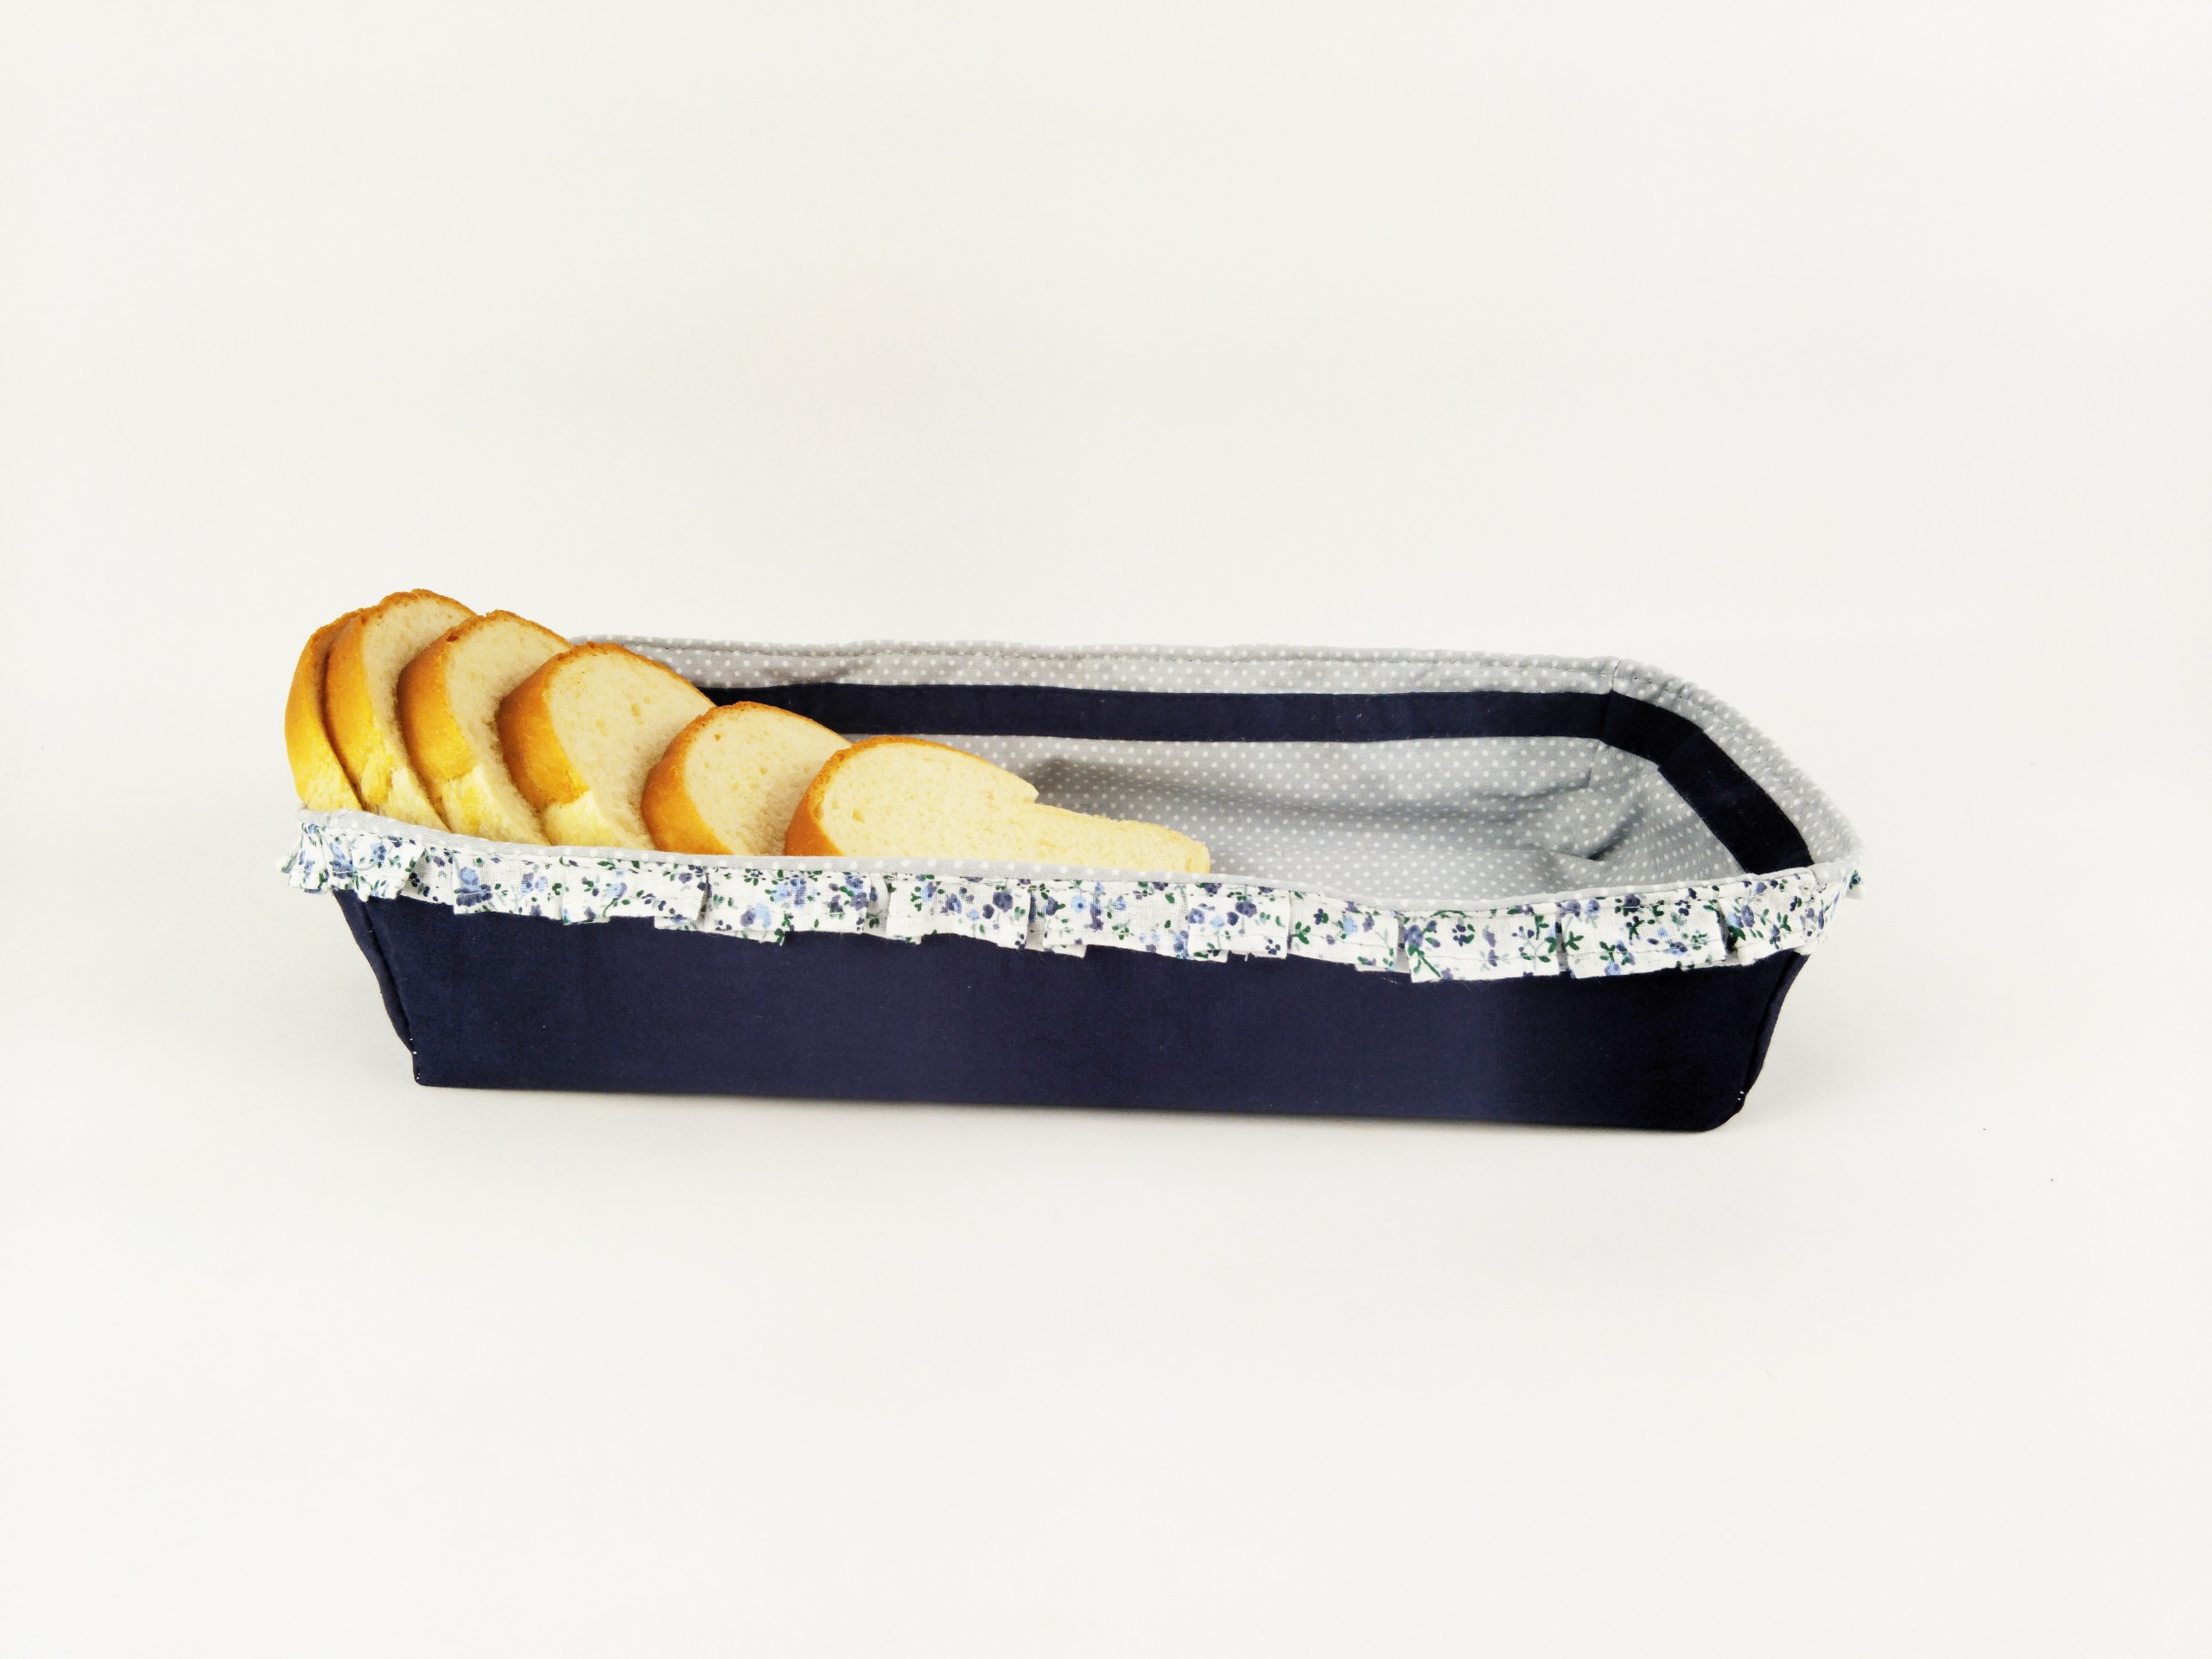
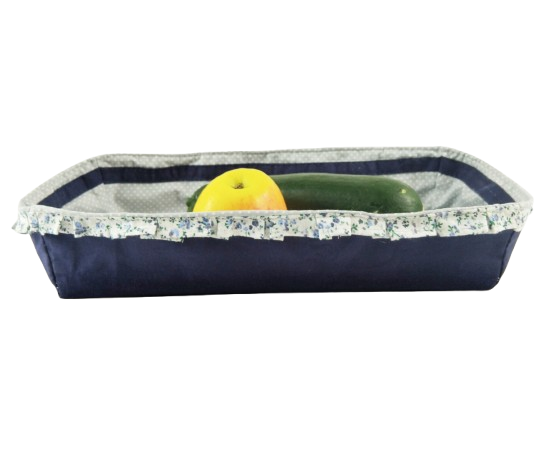
A cute and low basket will decorate any corner table in any room. It is made of cotton fabric and is hardened on the inside to maintain its shape. If you follow the instructions below, you will easily sew the basket.
Materials
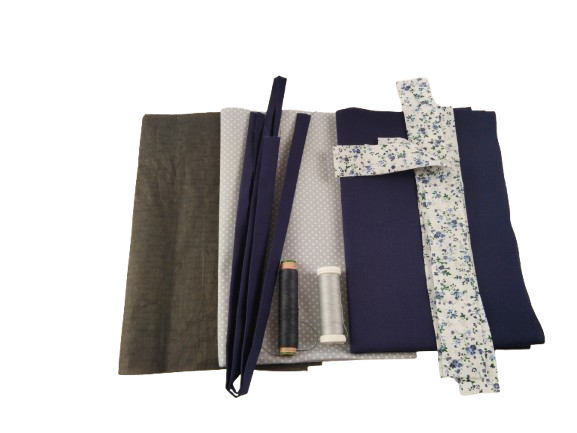
To make this cute basket you will need:
- Variegated cotton fabric 30 cm x 45 cm
- Dark blue cotton 42 cm x 40 cm
- Flowery cotton fabric 25 cm x 25 cm
- Iron-On adhesive interfacing fabric 60 cm x 90 cm
- Two colors sewing thread no. 120
The instructions below provide the measurements for cutting out pattern pieces and the main steps for sewing the basket.
Cutting out pattern pieces
Here are all the pattern pieces and their dimensions. All dimensions are shown with sewing allowances. If not indicated otherwise, use a 1 cm seam allowance for all seams.
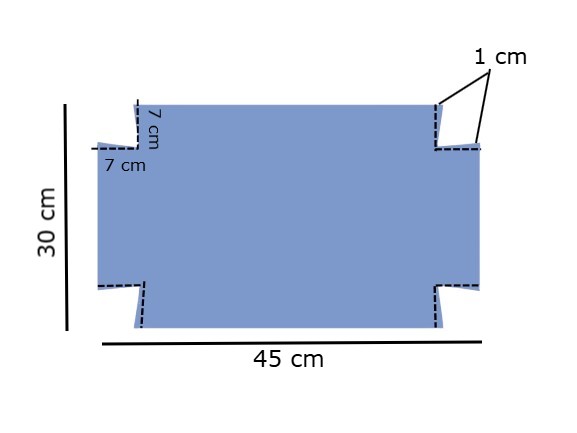
According to this pattern, you must cut two pieces from different fabrics: colorful cotton and dark blue cotton. Draw 7 cm perpendicular lines in the corners. Draw 7 cm perpendicular lines at the corners. But cut 1 cm closer to the corner from each line as shown in the drawing. We do this so that when the corners are sewn together, the edges of the box will be tilted outwards.
Steps for sewing the basket
When all the pattern pieces are cut out and ready, follow the steps below to sew them together.
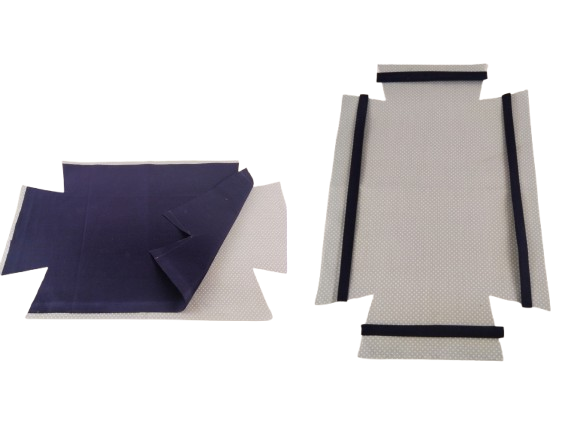
Step 1. In this picture we see both main details cut out of different fabrics. Cut 3 cm strips from the dark blue cotton fabric fold both edges and align them with an iron to get about 1,5 cm a strip. Sew these strips onto the colorful cotton fabric pieces. Sew these strips onto the colorful cotton fabric, leaving a 3 cm distance from the edge.
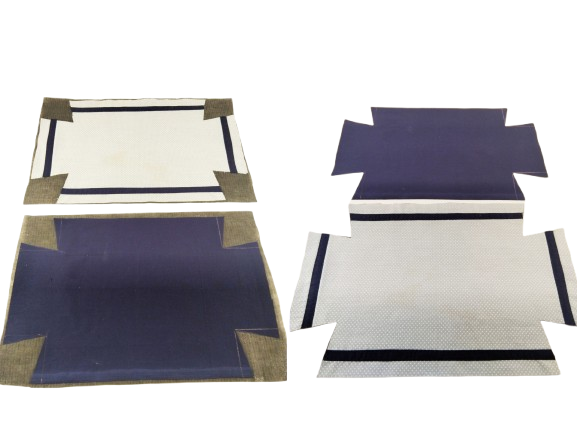
Step 2. Place both fabric pieces on the Iron-On adhesive interfacing fabric and smooth it out so that it sticks to the fabric. Cut the corners according to the fabric dimensions.
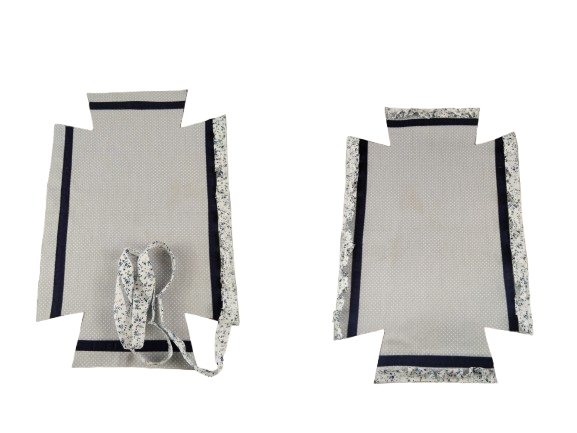
Step 3. Cut a 3 cm strip from the flowery cotton fabric and join the ends together to make one long strip. Fold the edge and sew along the strip.
Sew the other side of the strips onto the edge of the main piece of variegated cotton fabric, making two pleats every 2 cm.
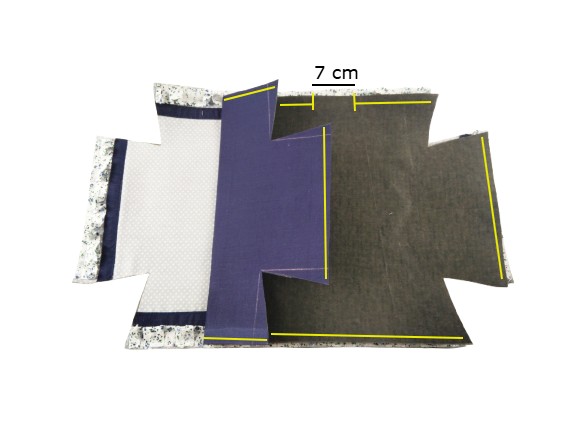
Step 4. Place the large pieces on top of each other and sew the edges together as shown in the yellow line in the picture. Don’t forget to leave a 7 cm gap so that you can turn out it later.
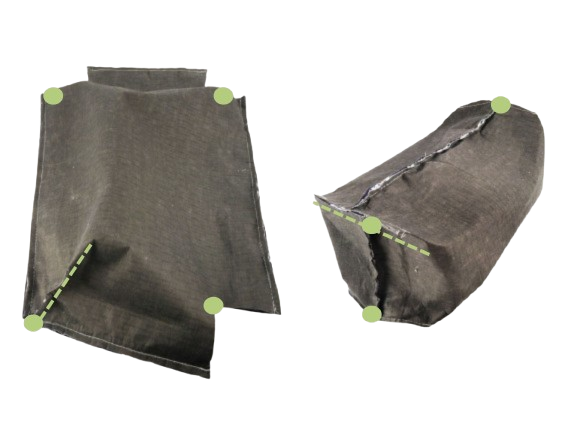
Step 5. Now unfold the corners and sew them together as shown in the picture with the green dotted line. The green balls show all four corners that you need to sew like this. It looks like a square bag.
Step 6. All that’s left is to turn the product over through the 7 cm gap that we didn’t sew on the right side and sew the finishing thread as shown in the picture in yellow. With the sewn finishing line we will sew the 7 cm gap that we left.
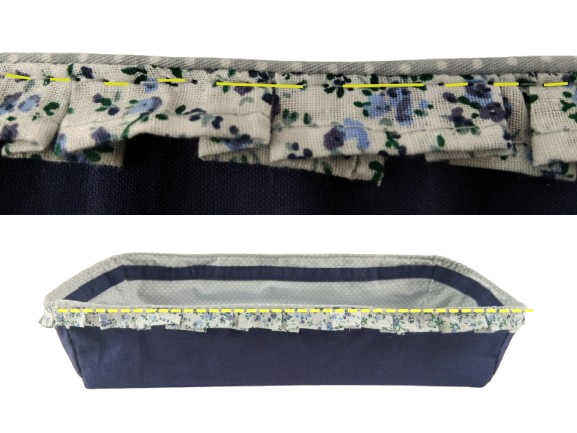
Here is our basket and it’s finished. You can combine the fabric colors as you wish. Good luck.


